Most people don’t start caring about image formats because it’s fun. They care because something breaks at the worst time:
- An iPhone photo is HEIC and someone can’t open it.
- A transparent PNG becomes a white rectangle after “conversion”.
- Your page feels slow and images are quietly a big chunk of it.
- You export the same asset a few times and it gets softer each time.
So yes, you need a converter. But you also need to know what to convert to (and what not to do). This guide keeps it practical: a simple decision table, the common pitfalls, and a batch checklist you can reuse.

Ask the right question first: why are you converting?
Most “wrong format” problems boil down to one of these goals:
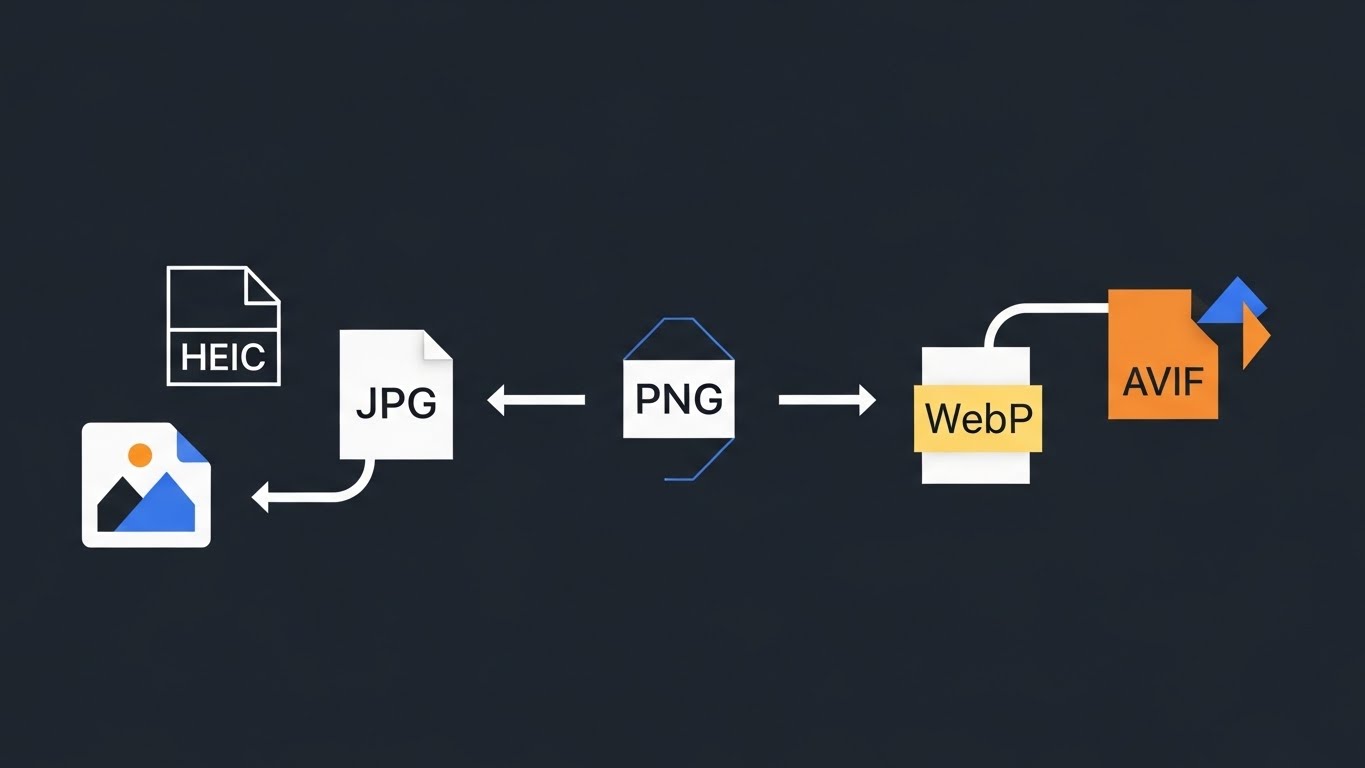
- Compatibility: make the file open everywhere (e.g., HEIC → JPG).
- Performance: smaller files for faster pages (e.g., JPG/PNG → WebP or AVIF).
- Format features: transparency, lossless output, and metadata control.
Once you pick the goal, the rest gets a lot less confusing.
The “good enough” format decision table
| What you’re trying to do | Recommended format | Why | Common mistake |
|---|---|---|---|
| Share photos with anyone | JPG | Best compatibility, small files | Repeated JPG→JPG adds quality loss |
| Share iPhone photos broadly | HEIC → JPG | Avoid “can’t open / can’t preview” | Double-check orientation and dates |
| Web photos (people, products) | WebP (default) / AVIF (more aggressive) | Better size/quality trade-off | Forgetting older-browser fallbacks |
| UI screenshots with lots of text | PNG or high-quality WebP | Cleaner edges for text/lines | Low quality causes haloing/banding |
| Logos/stickers with transparency | PNG or WebP | Alpha transparency support | PNG→JPG turns transparency into a solid background |
| Favicons / app icons | ICO / ICNS | Required container formats | Renaming extensions isn’t conversion |
| Quick previews from PSD/RAW | PSD/RAW → JPG/PNG | Easy to view, share, and review | Not checking output size/color first |
Use this as your starting point: pick the target format first, then tune quality and batch settings.
WebP vs AVIF (for the web)
If you don’t want to overthink it:
- WebP is the default: great real-world compatibility and usually a solid size win.
- AVIF is the “push it further” option: often smaller at similar quality, but encoding can be slower and some images (fine text, sharp edges) can look worse if you push compression too hard.
- Format won’t fix oversized pixels: if you’re shipping 4000px images into a 1200px slot, resizing is where the real win is.
For modern + legacy browser coverage, the common pattern is picture with fallbacks:
<picture>
  <source srcset="image.avif" type="image/avif" />
  <source srcset="image.webp" type="image/webp" />
  <img src="image.jpg" alt="..." />
</picture>
Five formats, one-line memory aids
- JPG: the safest “works everywhere” photo format—just don’t keep re-exporting it.
- PNG: lossless and supports transparency; great for logos, UI, and screenshots (often larger).
- HEIC: space-efficient iPhone default that regularly hits compatibility walls.
- WebP: the practical modern web default; often smaller with solid compatibility.
- AVIF: a more aggressive modern format; can be excellent, but don’t crank compression too far.
6 common conversion traps (and how to avoid them)
1) Transparency loss: PNG/WebP → JPG becomes a solid background
JPG can’t store transparency. If your source has alpha (logos, cutouts), keep PNG/WebP unless you explicitly want a background color.
2) “Wrong” colors: color profiles and device differences
If a converted image looks shifted, it’s often color management rather than the converter itself. Best practice:
- For web + general sharing, prefer widely compatible output.
- Spot-check a few “color-critical” images (skin tones, brand colors, gradients).
3) Wrong orientation after conversion
Many phone photos store rotation in metadata. If metadata is dropped or handled differently, the image can flip. Quick fix: preview after conversion and re-export if needed.
4) Metadata leaks: EXIF can include location and device details
Before sharing publicly, consider removing EXIF. For a deeper explanation, see: /en/blogs/remove-exif-before-sharing.
5) “It gets worse every time”: repeated lossy conversions
JPG/WebP/AVIF can be lossy. If you keep converting exports instead of the original source, artifacts stack up. Best practice:
- Keep originals (especially RAW/PSD/PNG).
- Export once from the original source—don’t treat exports as new masters.
6) Batch chaos: filenames and versions get mixed
Batch conversion problems are usually organizational. Decide up front:
- Naming rules (do you keep the original extension in the name?)
- Folder structure (
web/,share/,icons/) - Whether you need resizing (resize first, then convert)
7) “Why is it bigger?”: PNG → WebP/AVIF isn’t always a win
Some PNGs are already highly optimized (especially flat colors, simple UI assets, or files you previously ran through an optimizer). Converting them can save very little—or even increase size. When that happens, check:
- Are the dimensions too large? Resizing often beats format switching.
- Is this a text/screenshot image being pushed through low-quality lossy settings?
Choosing quality without obsessing over settings
You don’t need perfect numbers—you need a repeatable check:
- Photos: look at skin, hair edges, and gradients for smearing or banding.
- Screenshots/text: zoom to 100% and inspect text edges and thin lines.
- Transparency: check for halos/dirty edges on both light and dark backgrounds.
Rule of thumb: photos can go lossy (JPG/WebP/AVIF). Text-heavy UI shots are usually better as PNG, or at least very high quality if you must go lossy.
Quick answers to things people actually Google
Will HEIC → JPG look worse?
Usually not in an obvious way, but it depends on the export quality. The point of HEIC → JPG is compatibility—not “improving” quality.
Why does PNG → JPG remove transparency?
Because JPG simply doesn’t support alpha transparency. Transparent areas have to be filled with a solid color.
Is WebP always smaller than JPG?
Often for photos, yes—but not guaranteed. If the difference is tiny, check whether your dimensions are oversized or your JPG is already well optimized.
Why can AVIF look “waxy” sometimes?
That’s typically compression pushed too hard, especially on skin tones, shadows, and gradients. AVIF can be great—just don’t overdo it.
7 real-world scenarios and what to convert to
Scenario 1: iPhone HEIC won’t open for others
Goal: HEIC → JPG for maximum compatibility.
Check: orientation + capture date; remove EXIF if privacy matters.
Scenario 2: Your website is slow, but quality can’t suffer
Goal: JPG/PNG → WebP (default) or AVIF.
Check: do a small A/B sample set; gradients and faces are the first to show artifacts. Also don’t forget dimensions:
- If the page displays 1200px wide images but you upload 4000px sources, resize first.
- If you need multiple outputs (hero/list/thumb), generate them as a batch so you don’t end up with inconsistent assets.
Scenario 3: You need to deliver a transparent logo to a developer
Goal: keep PNG or convert to WebP (still transparent).
Check: don’t convert to JPG; consider exporting 1x/2x sizes.
Scenario 4: You need a favicon or app icon file
Goal: PNG → ICO/ICNS.
Check: start from a square, high-contrast source; verify the result in a browser tab or OS icon view.
Scenario 5: Text-heavy screenshots get blurry after conversion
Goal: keep PNG or use higher-quality WebP.
Check: inspect at 100% zoom around text edges and thin lines.
Scenario 6: You received PSD/RAW, but only need something “reviewable”
Goal: PSD/RAW → JPG (review/delivery), optionally PNG for cleaner edges or transparency.
Check: confirm output dimensions and color on a couple of samples first.
Scenario 7: You’re unsure—just want a safe default
Pick based on the primary goal:
- Sharing/compatibility: JPG
- Web performance: WebP (or AVIF)
- Transparency/lossless: PNG (or WebP)
A repeatable batch conversion checklist
- Decide the goal: compatibility / size / transparency / privacy
- Test 3 samples: orientation, transparency, brand colors, gradients
- Batch process: consistent quality + consistent naming
- Spot-check: open ~5–10% of outputs to avoid batch surprises
Order matters: resize vs convert vs compress
If you’re doing more than “just change the extension”, a stable order is:
- Resize first (decide pixel dimensions): Resize
- Convert format next (decide container/codec): /convert/en
- Compress last (fine-tune final size/quality): Squoosh / Compress
You can skip steps depending on your goal, but keeping the order straight prevents a lot of “why didn’t it get smaller?” frustration.
A small but useful note: email, social, printing
- Email/client delivery: JPG is the safest default; for iPhone photos, convert HEIC to JPG first.
- Social media: platforms re-compress anyway, so controlling dimensions and clarity matters more than chasing a perfect format.
- Printing: many labs are happiest with JPG. If you’re unsure, follow the lab’s requirements—don’t gamble on HEIC/AVIF support.
A simple naming pattern that stays sane in batches
Keep it boring and consistent:
- Split by purpose:
web/,share/,icons/ - Include what matters:
name@2x_1600w.webp,name_800w.jpg,logo_transparent.webp - If you often revisit projects, keep the source format in the filename:
hero.heic.jpg
Put it into practice with OneImage Convert (local, no uploads)
Once you know what you’re converting to, the remaining goal is simple: do it in batches without uploading files. That’s exactly what OneImage Convert is for:
- Open the converter: /convert/en
- Drag in one image or a batch
- Pick output format and quality (if needed)
- Convert and download (including a ZIP for batches)
For format-pair and scenario shortcuts, start from the directory: /convert/en/convert.
---
Want a deeper breakdown of formats? Read: /en/blogs/image-format-guide-2025. For how OneImage stays privacy-first with local processing: /en/blogs/privacy-first-local-image-processing.